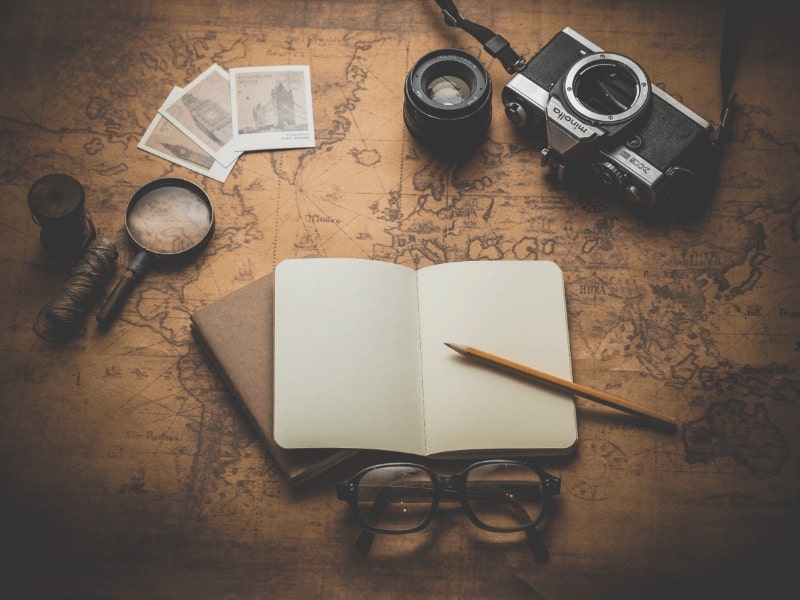
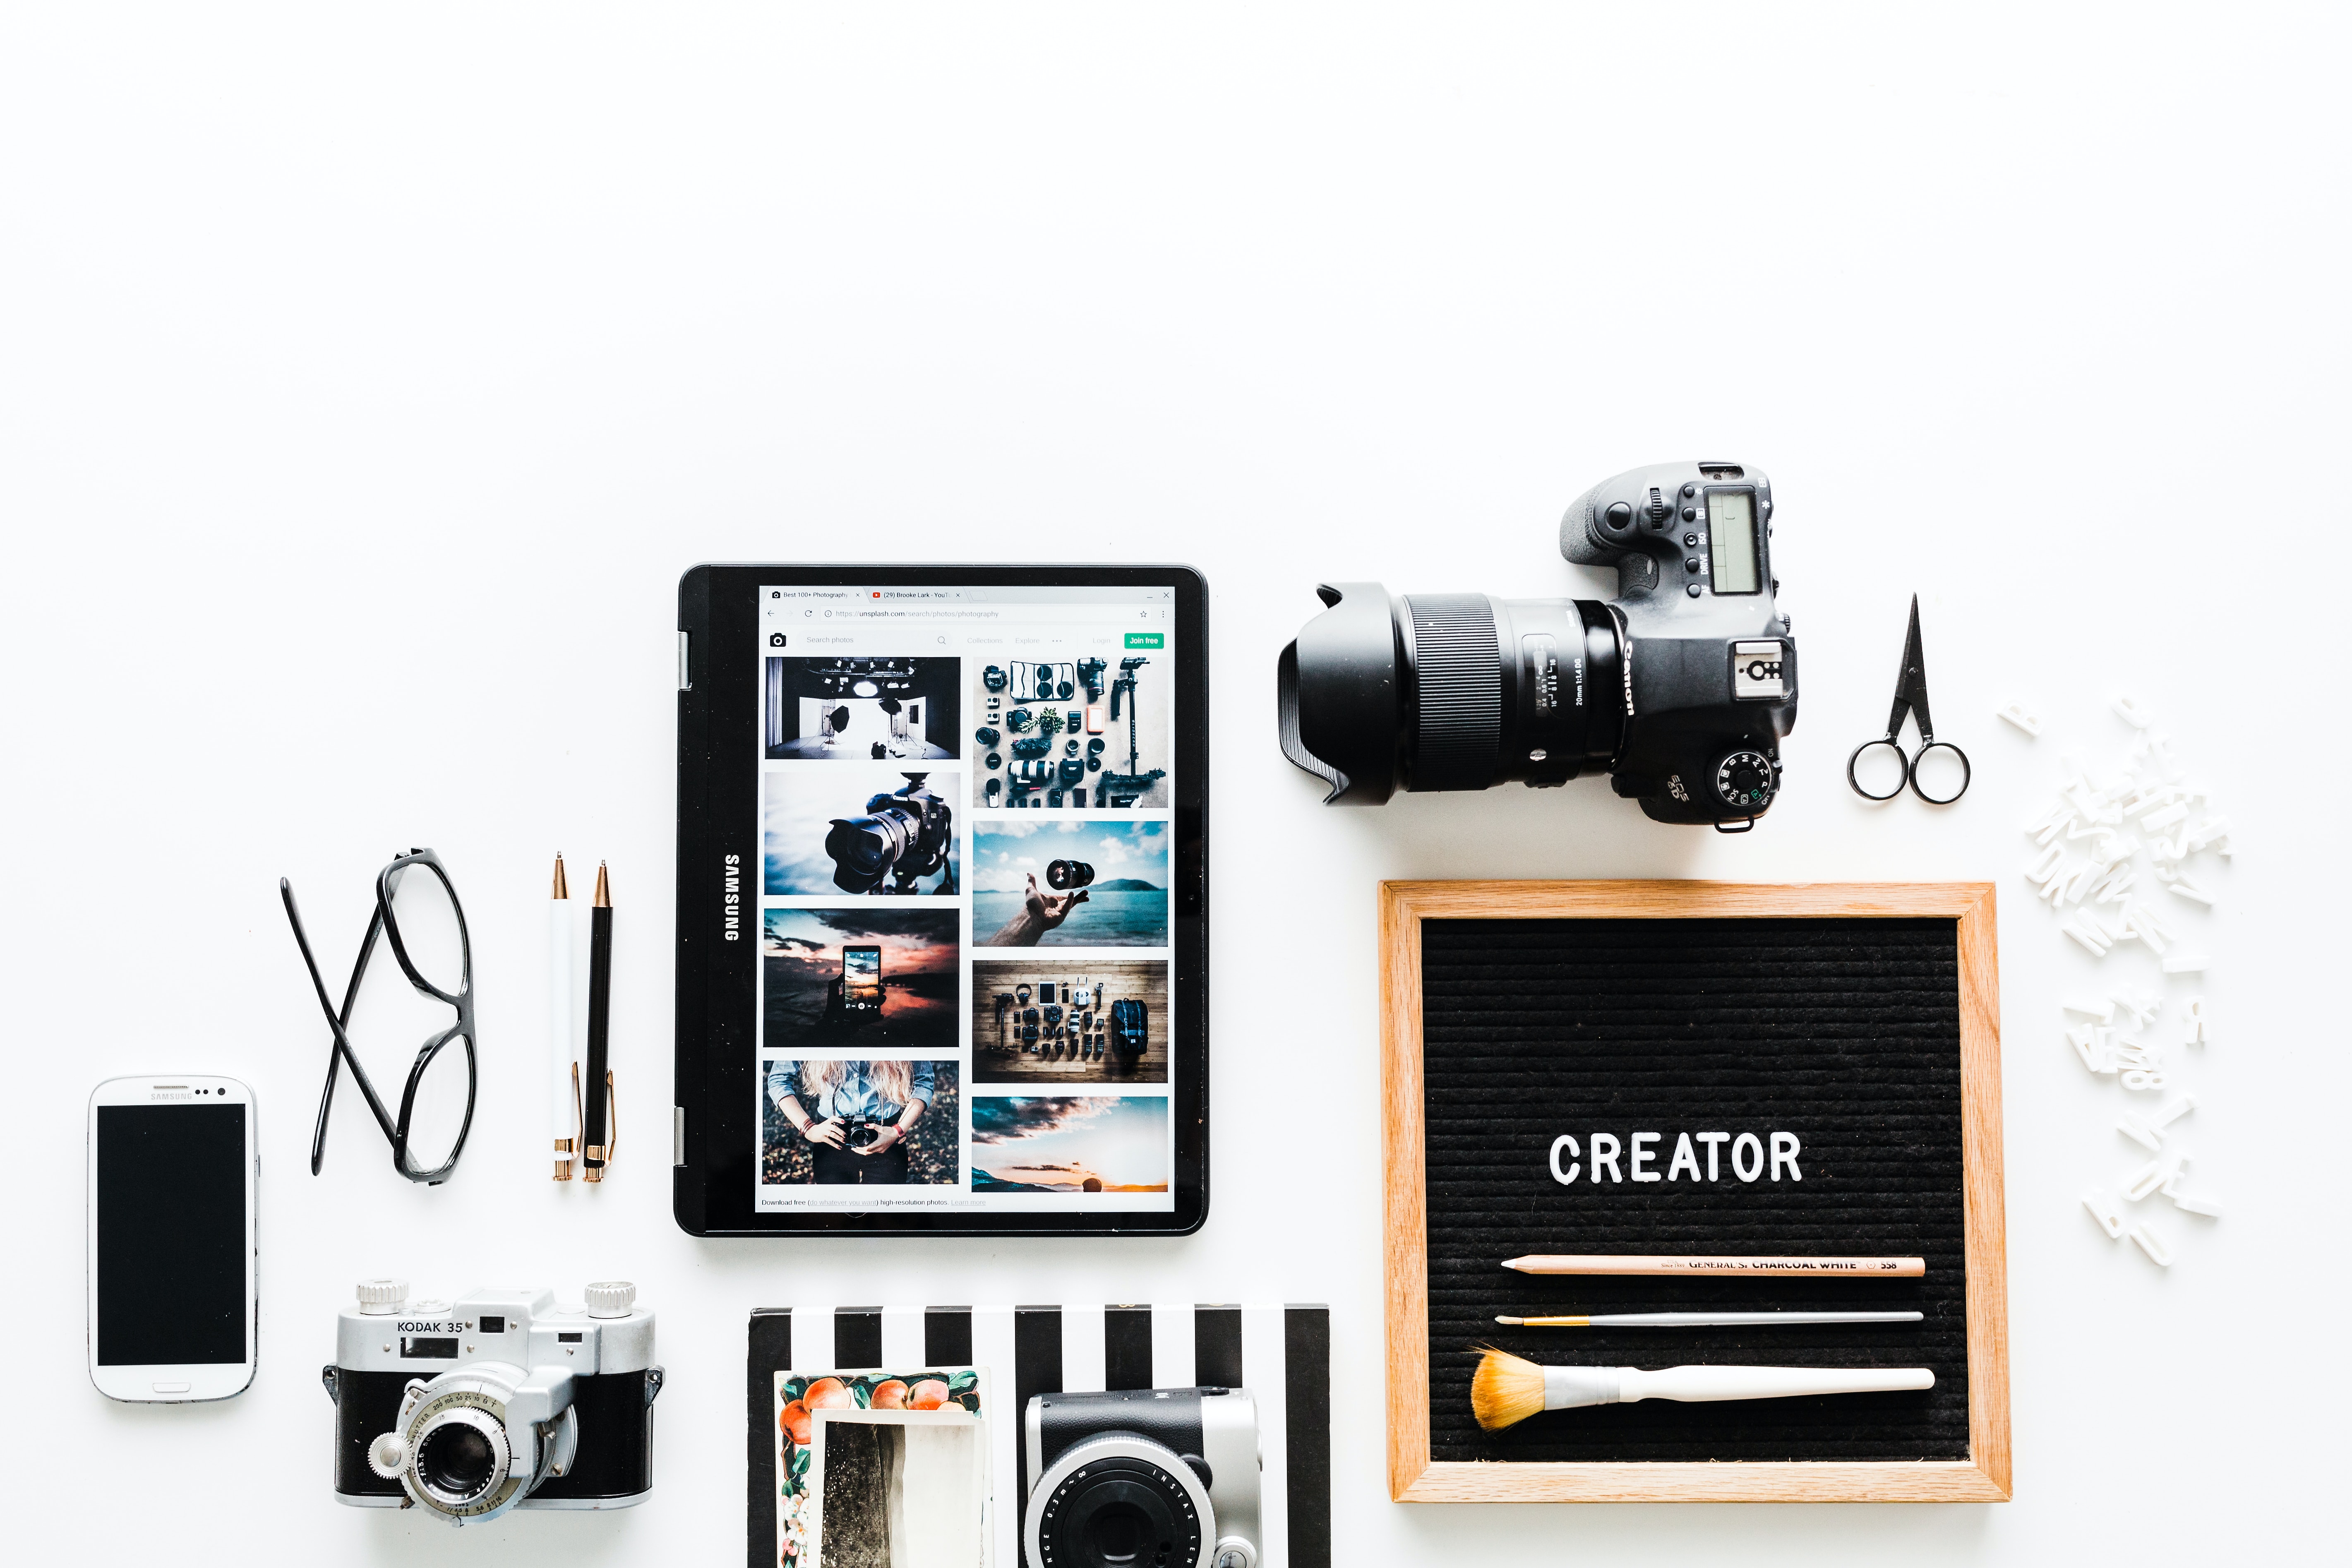
Tips for Capturing Abandoned Beauty
Table of Contents
1.The Art of Urbex Photography: Tips for Capturing Abandoned Beauty
Photography and documentation are essential aspects of
urban exploration (urbex) that not only help capture
the unique atmosphere of abandoned places but also
serve as a record of your adventures. Here are some
tips for effective photography and documentation during
urban exploration:
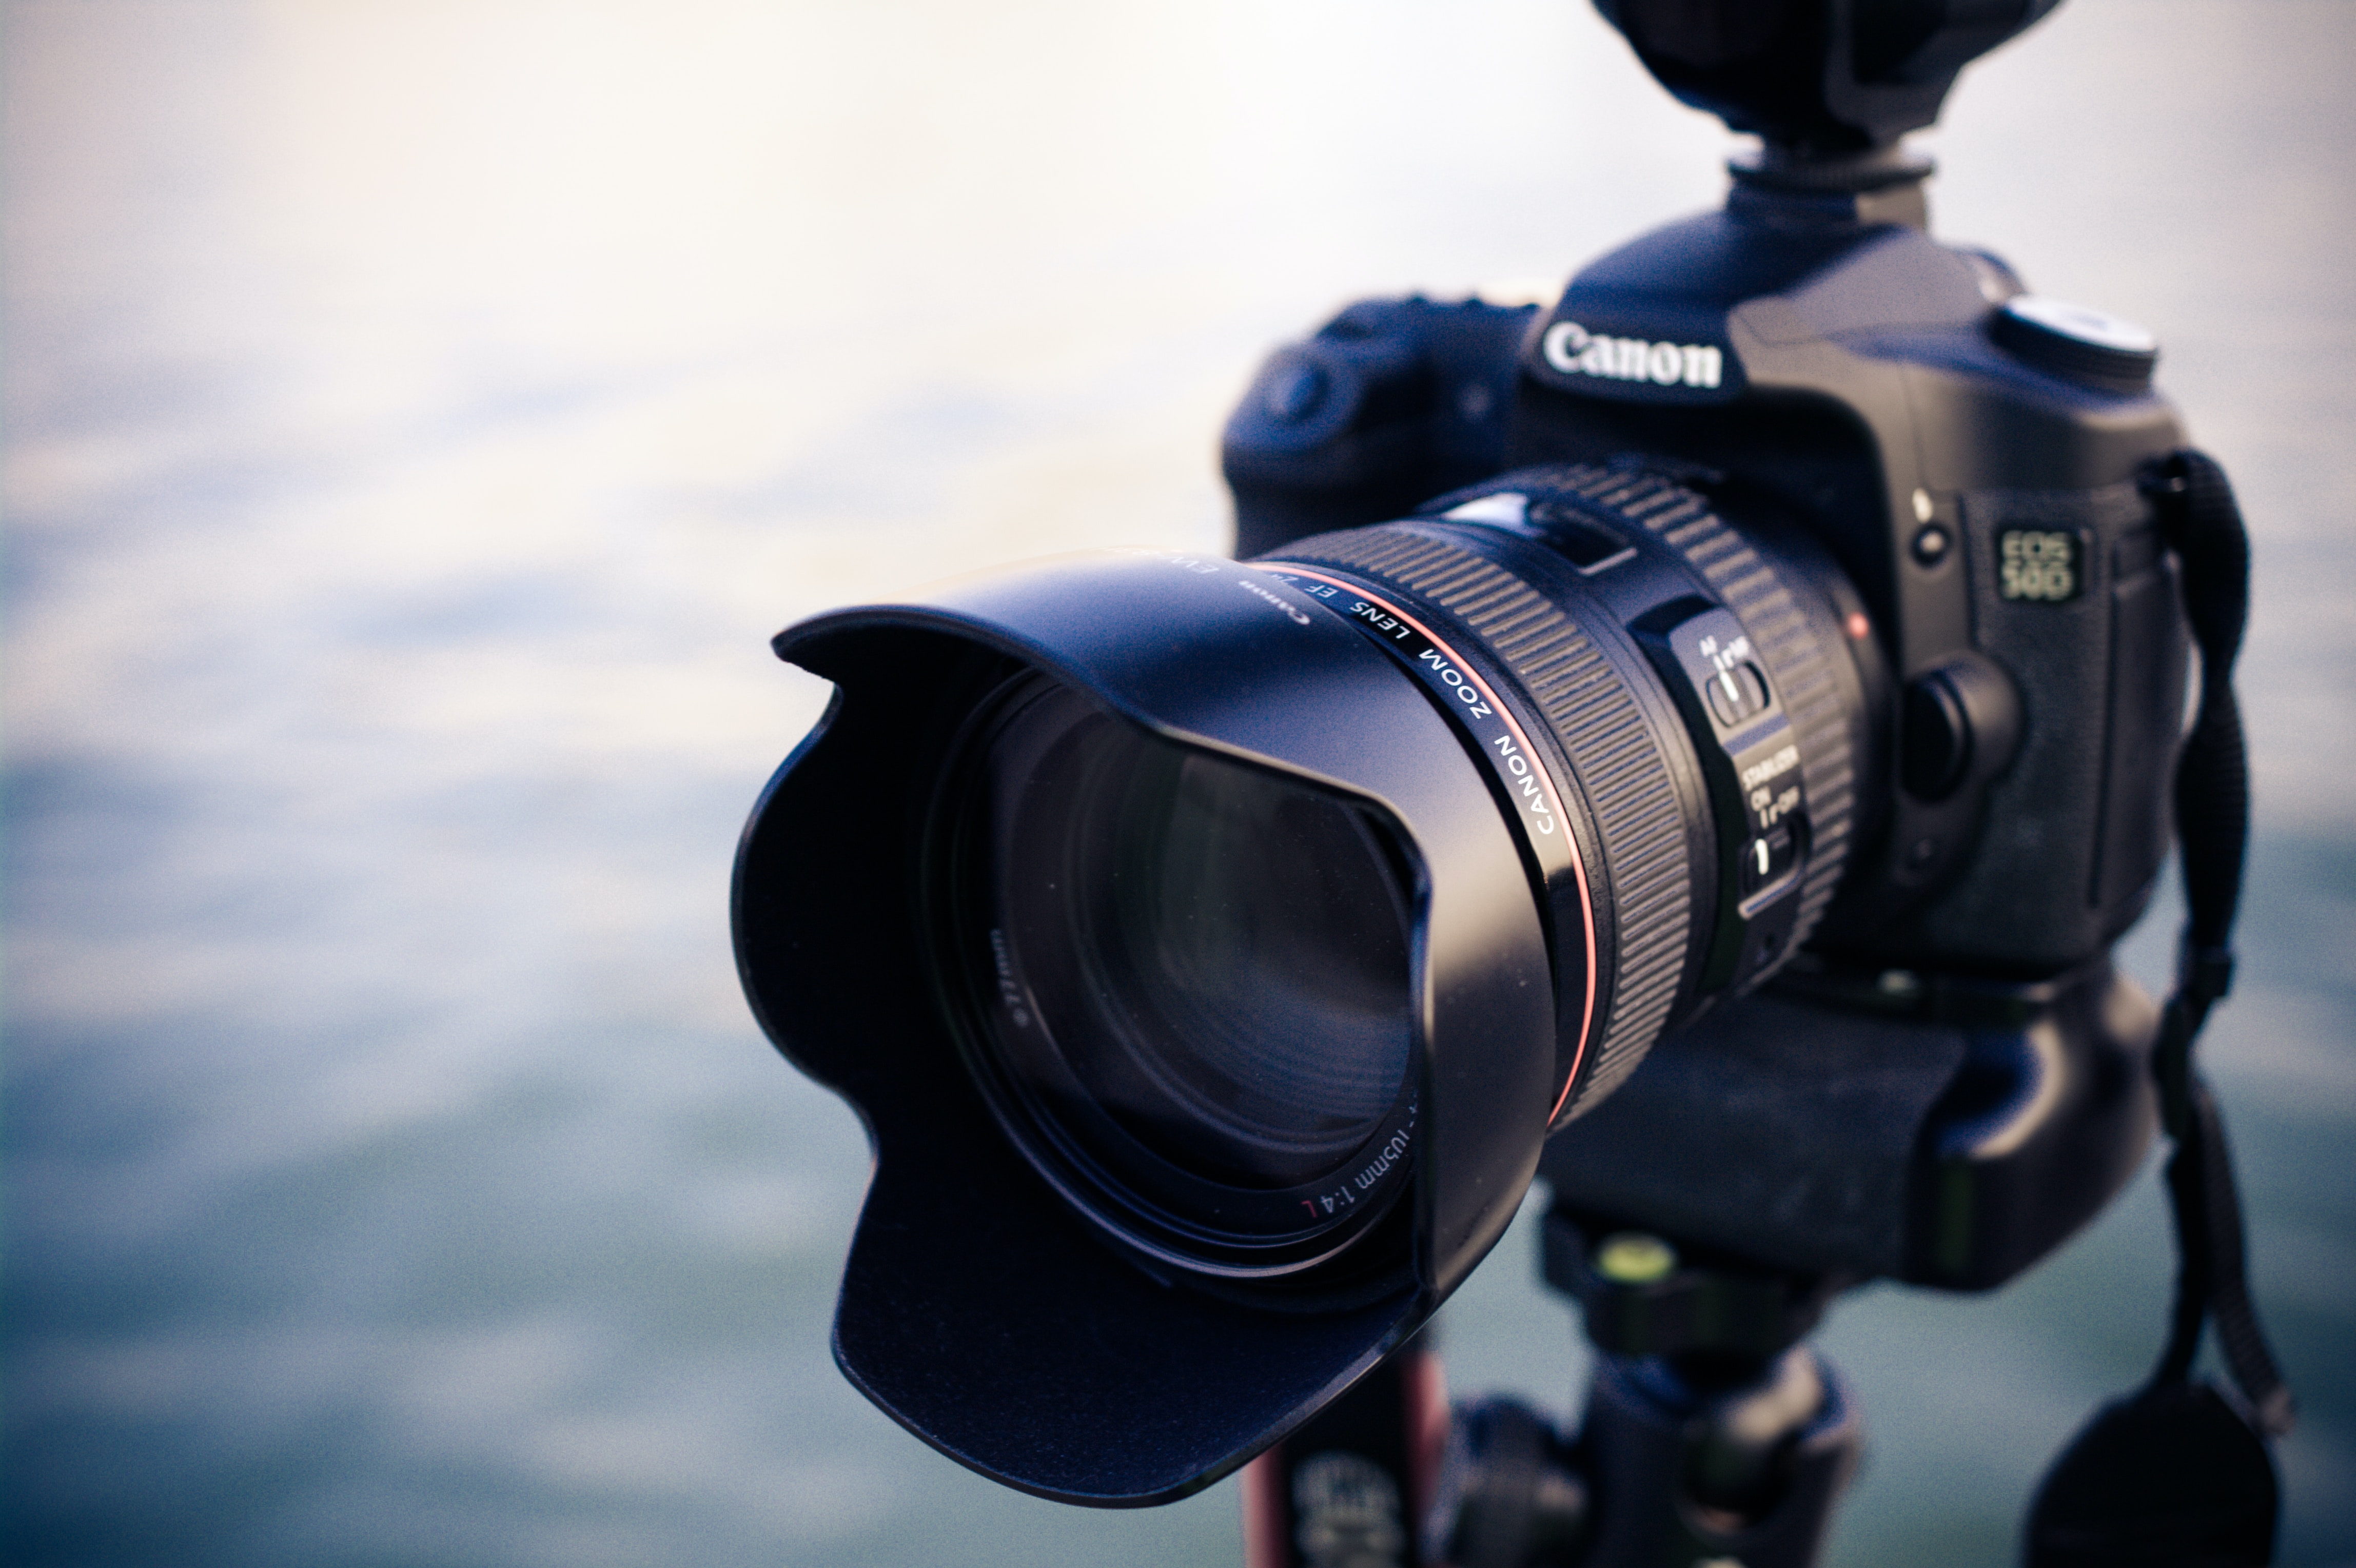
Bring the Right Gear:
Use a camera or smartphone with a high-quality camera.
A DSLR or mirrorless camera with interchangeable lenses
can offer more creative control, but even modern smartphones
can capture excellent photos.
Carry a sturdy tripod for long-exposure shots in low light conditions.
Consider a wide-angle lens to capture the expansive and often cramped
interiors of abandoned buildings.
Lighting Techniques:
Use natural light whenever possible. The soft, diffused light of
overcast days can be especially flattering for urbex photography.
Experiment with long-exposure shots to capture ambient light and
create a sense of movement in your photos.
Use your flashlight or headlamp strategically
to light up specific areas or objects within the scene.
Composition:
Pay attention to composition principles like leading lines,
framing, and the rule of thirds to create visually compelling images.
Experiment with different angles, perspectives, and focal
lengths to capture the unique features and atmosphere of each location.
2. Choosing the Right Camera for Urbex: DSLR vs. Mirrorless vs. Compact
When choosing a camera for urban exploration (urbex), you have several options to consider,
each with its own set of advantages and disadvantages. The choice depends on your preferences,
budget, and the specific requirements of urbex photography. Here's a comparison of DSLR,
mirrorless, and compact cameras
DSLR (Digital Single-Lens Reflex) Camera:
Excellent image quality:
DSLRs typically have larger sensors,
which result in better image quality, especially in low light
conditions.
Interchangeable lenses:
You can use a variety of lenses,including wide-angle and
prime lenses, to suit different urbex scenarios.
Size and weight
DSLRs are bulkier and heavier compared to mirrorless and
compact cameras, making them less convenient for
extended urbex outings.
Noise:
The mirror mechanism in DSLRs can produce noise when capturing
images, which may not be ideal for discrete shooting.
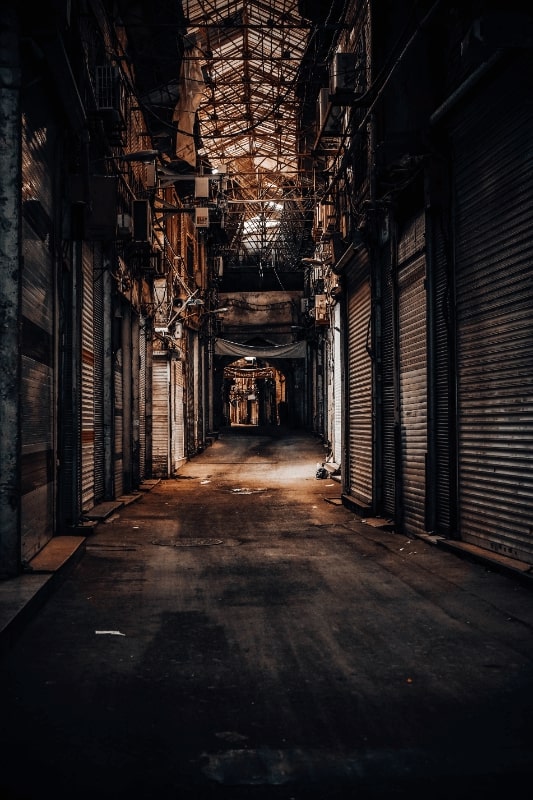
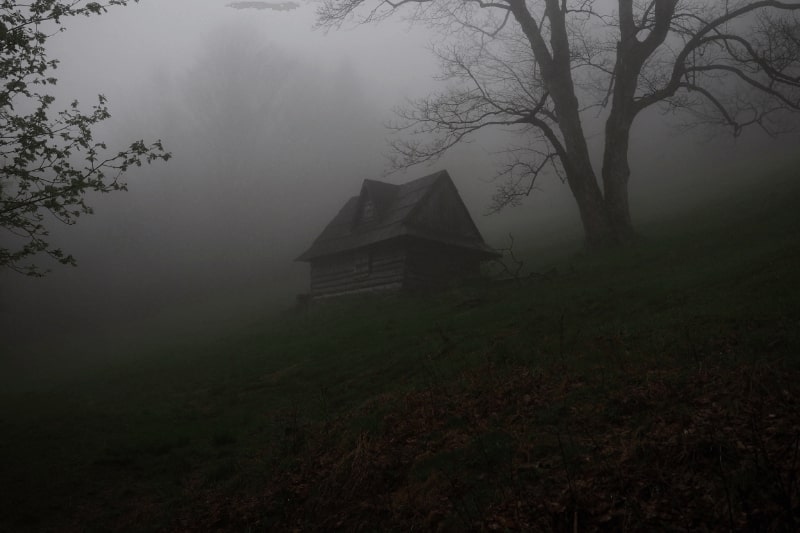
3. Low Light and Night Photography: Mastering Urbex in Dimly Lit Spaces
Trespassing Laws: Urban explorers often face trespassing laws when entering abandoned
or off-limits properties without permission. Trespassing is a criminal offense in many
jurisdictions and can result in fines, community service, or even jail time.
Breaking and Entering: If you enter a property unlawfully or use force to gain access,
you may face more severe criminal charges for breaking and entering or burglary.
Property Damage: Exploring abandoned structures can be risky, and accidents can happen.
If you accidentally damage the property during your exploration, you could be held liable
for repair costs.
Injury or Death: Abandoned buildings are often in a state of disrepair, making them
dangerous places to explore. If you or anyone in your group gets injured or killed during an
exploration, property owners may pursue legal action against you.
4. Urbex Photography Gear Essentials: Tripods, Filters, and Accessories
Urbex photography often requires specific gear and accessorie
to help you capture the best possible images in a variety of
challenging conditions. Here are some essential items to consider
for your urbex photography gear kit:
Tripod:
A sturdy tripod is essential for low light and long
exposure photography in urbex locations. Look for a
tripod with adjustable legs, a ball head, and the
ability to get low to the ground if needed.
Remote Shutter Release:
A remote shutter release or cable release allows you
to trigger the camera without touching it, minimizing
camera shake during long exposures. Some cameras also
have smartphone apps that serve this purpose.
Filters:
Neutral Density (ND) Filters: ND filters reduce the
amount of light entering the lens, allowing you to use
longer shutter speeds even in bright conditions.
They're especially useful for achieving long exposure effects.
5. Documenting Decay: Urbex Photo Editing and Post-Processing Tips
Post-processing is a crucial part of urban exploration (urbex) photography,
as it allows you to enhance and fine-tune your images to convey the atmosphere
and story of the decaying spaces you've captured. Here are some urbex photo
editing and post-processing tips to help you make the most of your urbex photos:
Shoot in RAW:
Whenever possible, shoot in RAW format rather than JPEG.
RAW files contain more image data and provide greater flexibility
during post-processing.
Select the Right Software:
Use professional photo editing software like Adobe Lightroom,
Adobe Photoshop, Capture One, or similar programs for more
advanced editing capabilities.
Basic Adjustments:
Start with basic adjustments like exposure, contrast, highlights,
shadows, and white balance to correct any exposure issues and
balance the image.
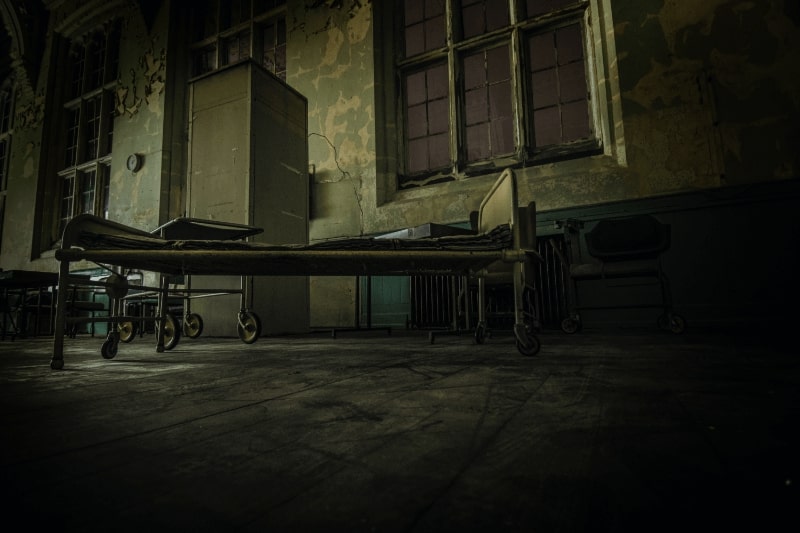
6. Composition Secrets: Framing, Leading Lines, and Rule of Thirds in Urbex
Composition plays a crucial role in urbex photography,
as it helps you tell a compelling story and capture
the unique atmosphere of abandoned spaces. Here are some
composition secrets to enhance your urbex photos:
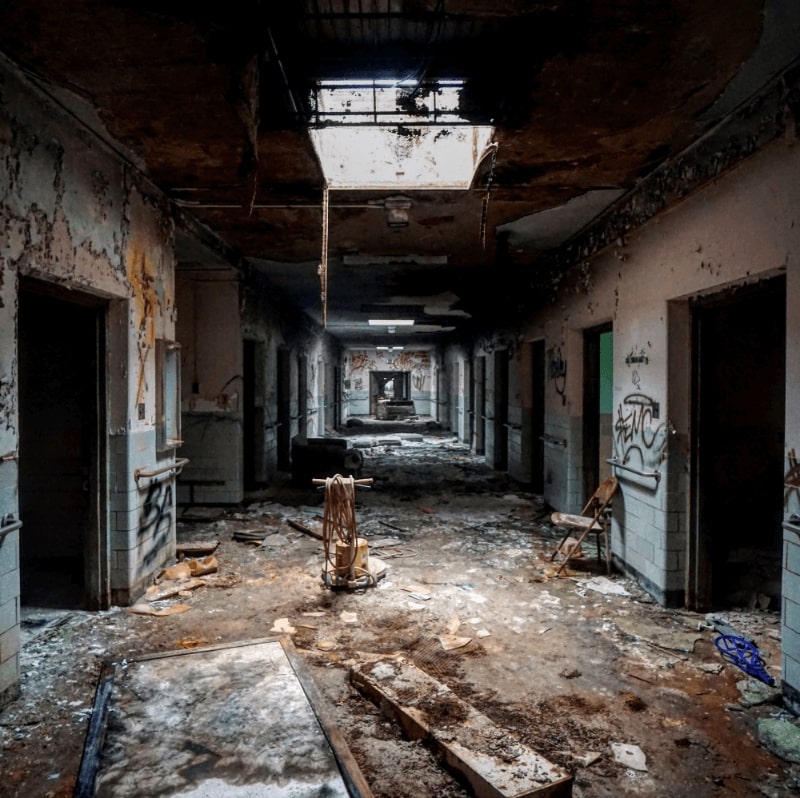
Framing:
Use elements within the urbex location to frame your subject.
This can add depth and draw the viewer's eye toward the main focal point.
Look for doorways, windows, arches, or structural elements like pillars
and beams that can serve as natural frames for your composition.
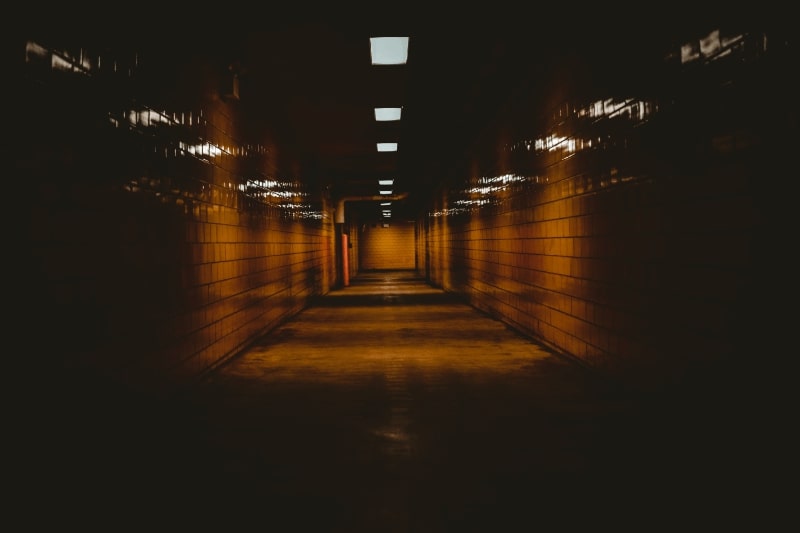
Leading Lines:
Leading lines are powerful compositional tools that guide the viewer's
eye through the image. In urbex photography, look for lines created by
architectural features, such as corridors, staircases, or rows of pillars.
Experiment with different angles and perspectives to find leading lines
that create a sense of depth or perspective in your photos.